How Batteries Work
By now, your child has learned enough about electricity to know that it’s not some mysterious force that only electricians can make sense of. If you’ve already made a Lemon Clock, then he has learned a little about electrons and how batteries work. Making a Toilet Paper Tube Flashlight will not only reinforce those skills but also help your child understand what’s going on inside a regular flashlight when he flips the switch. This project needs a lot of adult supervision and assistance, as it requires precision and calls for someone to strip the insulation off wires. Do not let your child attempt this project alone.
Skills Being Practiced
- Scientific method
- Basic understanding of how electricity works
- Exploring conductive materials and circuitry
What You Need
- 2 D batteries
- Large paper clip
- 2 brass fasteners
- Small plastic cup
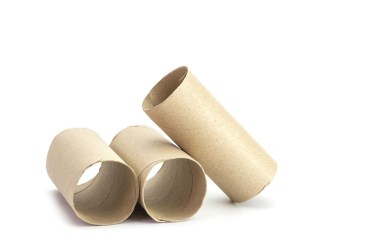
- Empty toilet paper tube
- Flashlight light bulb
- Scissors
- 5″-long piece of 22-gauge insulated copper wire
- 8″-long piece of 22-gauge insulated copper wire
- Utility knife or wire strippers
- Electrical tape
- 2″-wide sewing elastic
- Ruler
- Marker
Get Ready to Play
1. Use a utility knife or a pair of wire strippers to strip 1″ of insulation from each end of both pieces of copper wire.
2. Have your child measure and cut a ½” piece of sewing elastic. He should have a piece of elastic that measures ½” x 2″.
3. Use your utility knife to make a small slit in the middle of the piece of elastic, and insert the flashlight bulb, bulb-side up. Make sure the elastic fits snugly.
4. Help your child cut the bottom off the plastic cup. It should now look like a small megaphone.
5. Ask your child to cut the toilet paper tube lengthwise so it can be spread out into a flat rectangle.


